How to Make Cordless Roman Shades: DIY Step-by-Step Guide
TLDR;
To make cordless Roman
shades, measure and cut fabric to fit your window, sew (or use a no-sew method) to create pleats, and install a tension rod or spring-loaded lift system for a cordless mechanism. This DIY project is cost-effective, customizable, and provides a clean, modern window treatment solution. Below is a detailed guide covering every step.
Why DIY Cordless Roman Shades?
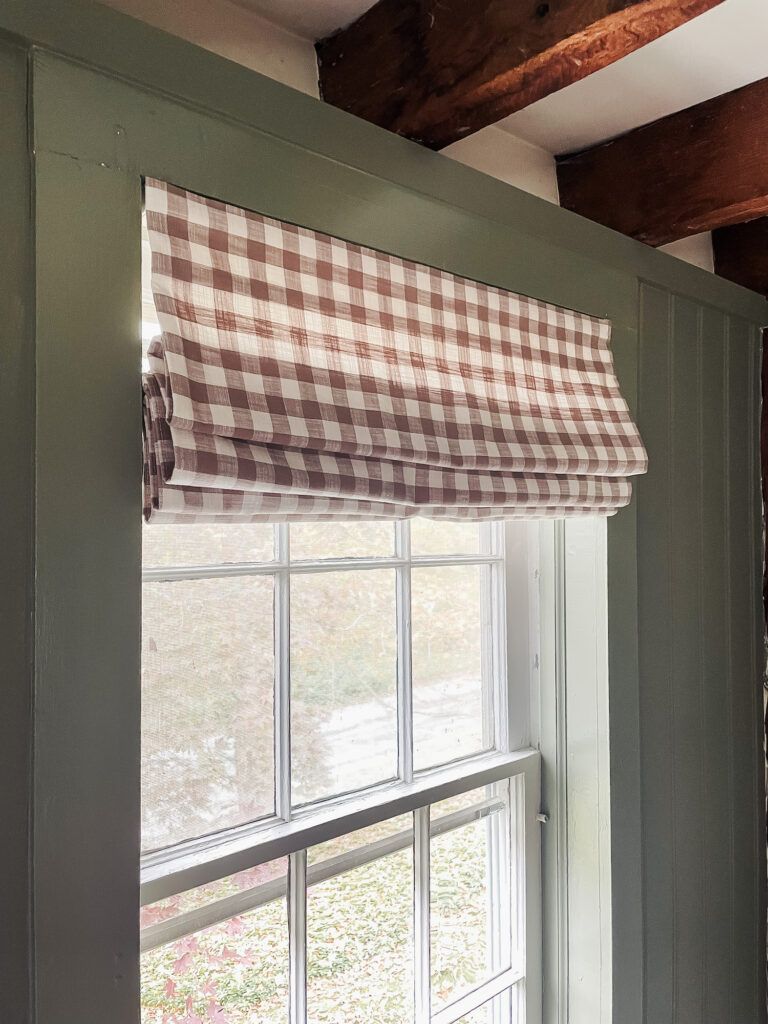
Cordless Roman shades are a stylish and practical window treatment that eliminates the need for dangling cords, making them safer for homes with children and pets. Compared to store-bought options, DIY cordless Roman shades allow for complete customization in terms of fabric choice, size, and design—all at a fraction of the cost.
This guide will walk you through the step-by-step process of making your own cordless Roman shades using simple materials and tools. Whether you choose a sewing or no-sew method, this tutorial will provide everything you need to know.
Materials and Tools Needed
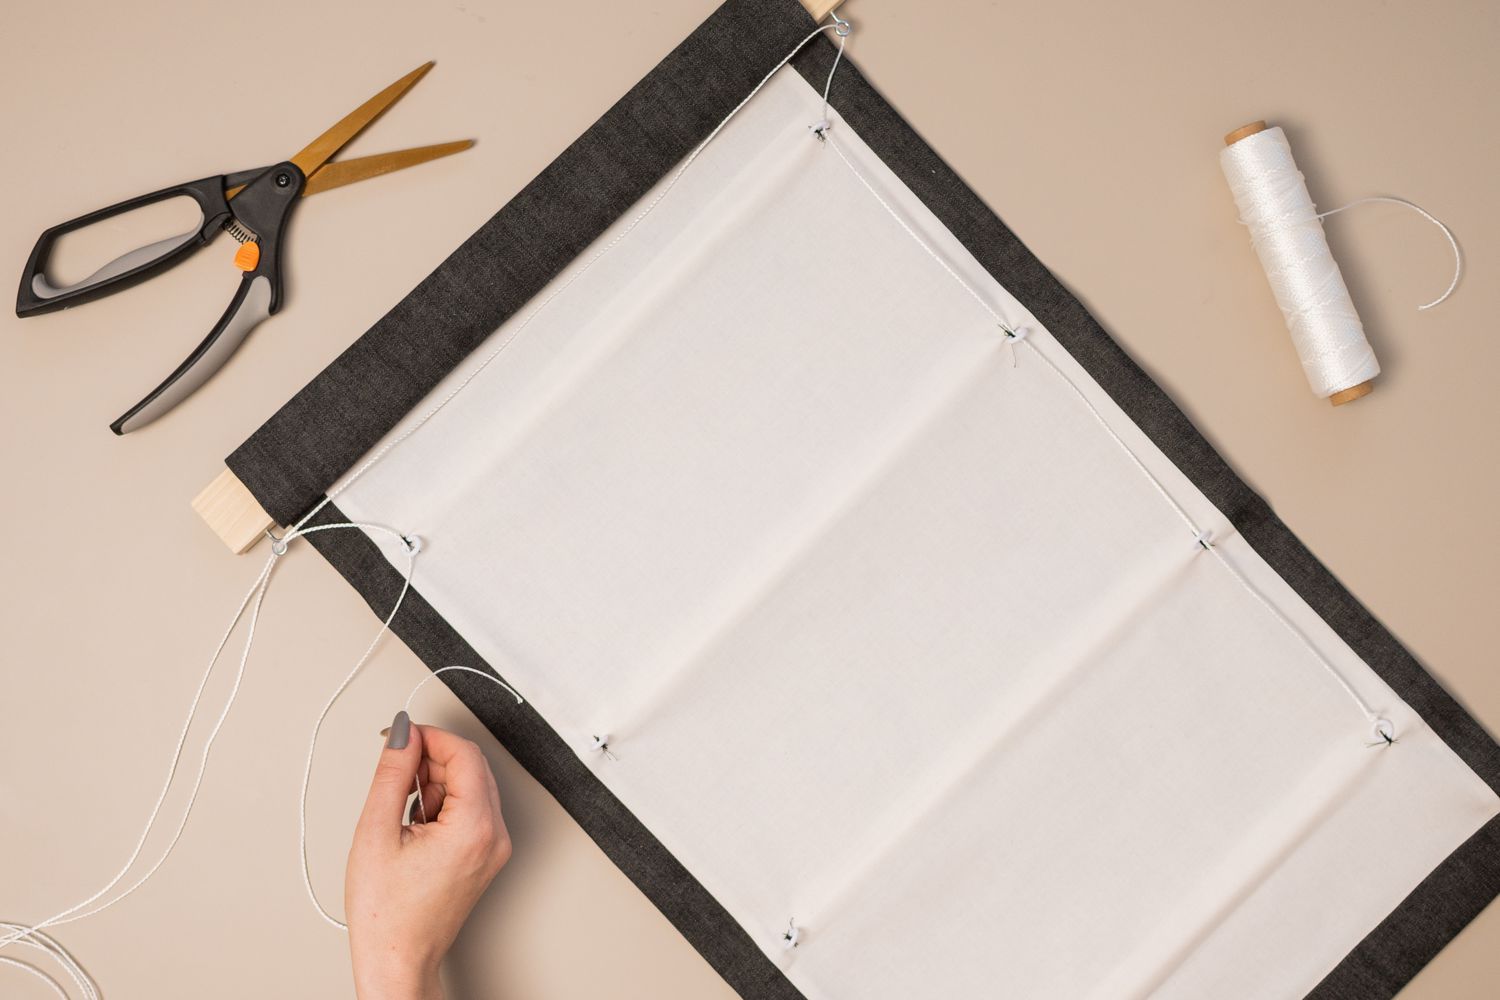
Materials:
- Fabric of choice (cotton, linen, or blackout fabric)
- Lining fabric (optional for extra light control)
- Wood slats or dowels (for structure)
- Tension rods or a spring-loaded lift system (for cordless functionality)
- Mounting brackets (for securing the shade)
- Fabric glue or iron-on adhesive strips (for a no-sew option)
Tools:
- Measuring tape
- Fabric scissors
- Sewing machine (if using the sewn method)
- Iron and ironing board
- Staple gun (optional for mounting)
Step-by-Step Guide: How to Make Cordless Roman Shades
Step 1: Measure and Cut Your Fabric
To ensure a proper fit, carefully measure your window’s width and height. Add an extra inch to all sides to allow for seam allowances and hems. Cut both your main fabric and lining fabric (if used) accordingly.
Fabric Selection Tips:
- Cotton and linen offer a crisp, clean fold.
- Blackout fabric helps with insulation and light control.
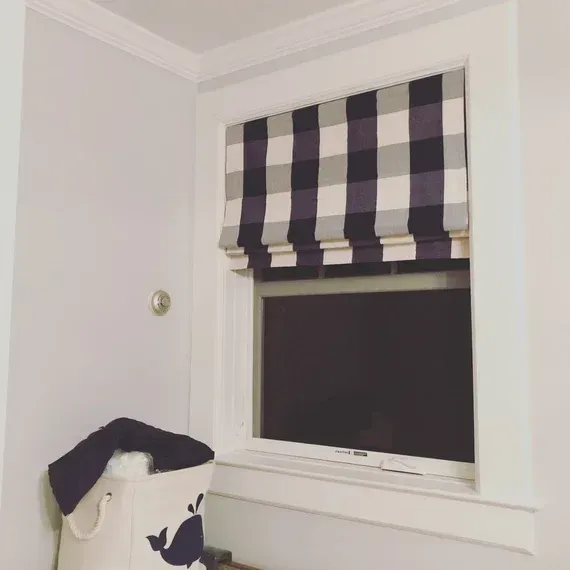
- Patterned fabric can add a decorative touch to your space.
Step 2: Prepare and Attach the Lining (Optional)
Lining fabric helps block light and gives the shade a professional look. If using lining:
- Lay the main fabric face down and place the lining fabric on top.
- Sew or glue the edges together, leaving the bottom open.
- Turn the fabric inside out and press with an iron for a smooth finish.
Step 3: Create the Folds (Roman Shade Style)
- Mark Folding Points – Measure and mark horizontal fold lines every 6–8 inches on the fabric.
- Attach Slats or Dowels – Insert wooden slats or dowels along these lines to maintain structure.
- Secure Folds – Sew or use fabric glue to attach the folds, ensuring an even drape.
Step 4: Install the Cordless Mechanism
Option 1: Tension Rod System
- Insert a tension rod at the top of the window frame and attach the shade.
- Another tension rod at the bottom helps keep the shade in place.
- Manually fold the fabric up and down to adjust the shade.
Option 2: Spring-Loaded Lift System
- Install a spring roller shade mechanism inside the top casing.
- Attach the fabric to the roller system to enable smooth movement.
Step 5: Mounting the Shade
- Inside Mount: Attach the shade inside the window frame using brackets.
- Outside Mount: Secure the shade outside the window frame for a larger coverage area.
- Use a staple gun or hook-and-loop tape to secure the top edge if needed.
Customization and Styling Tips
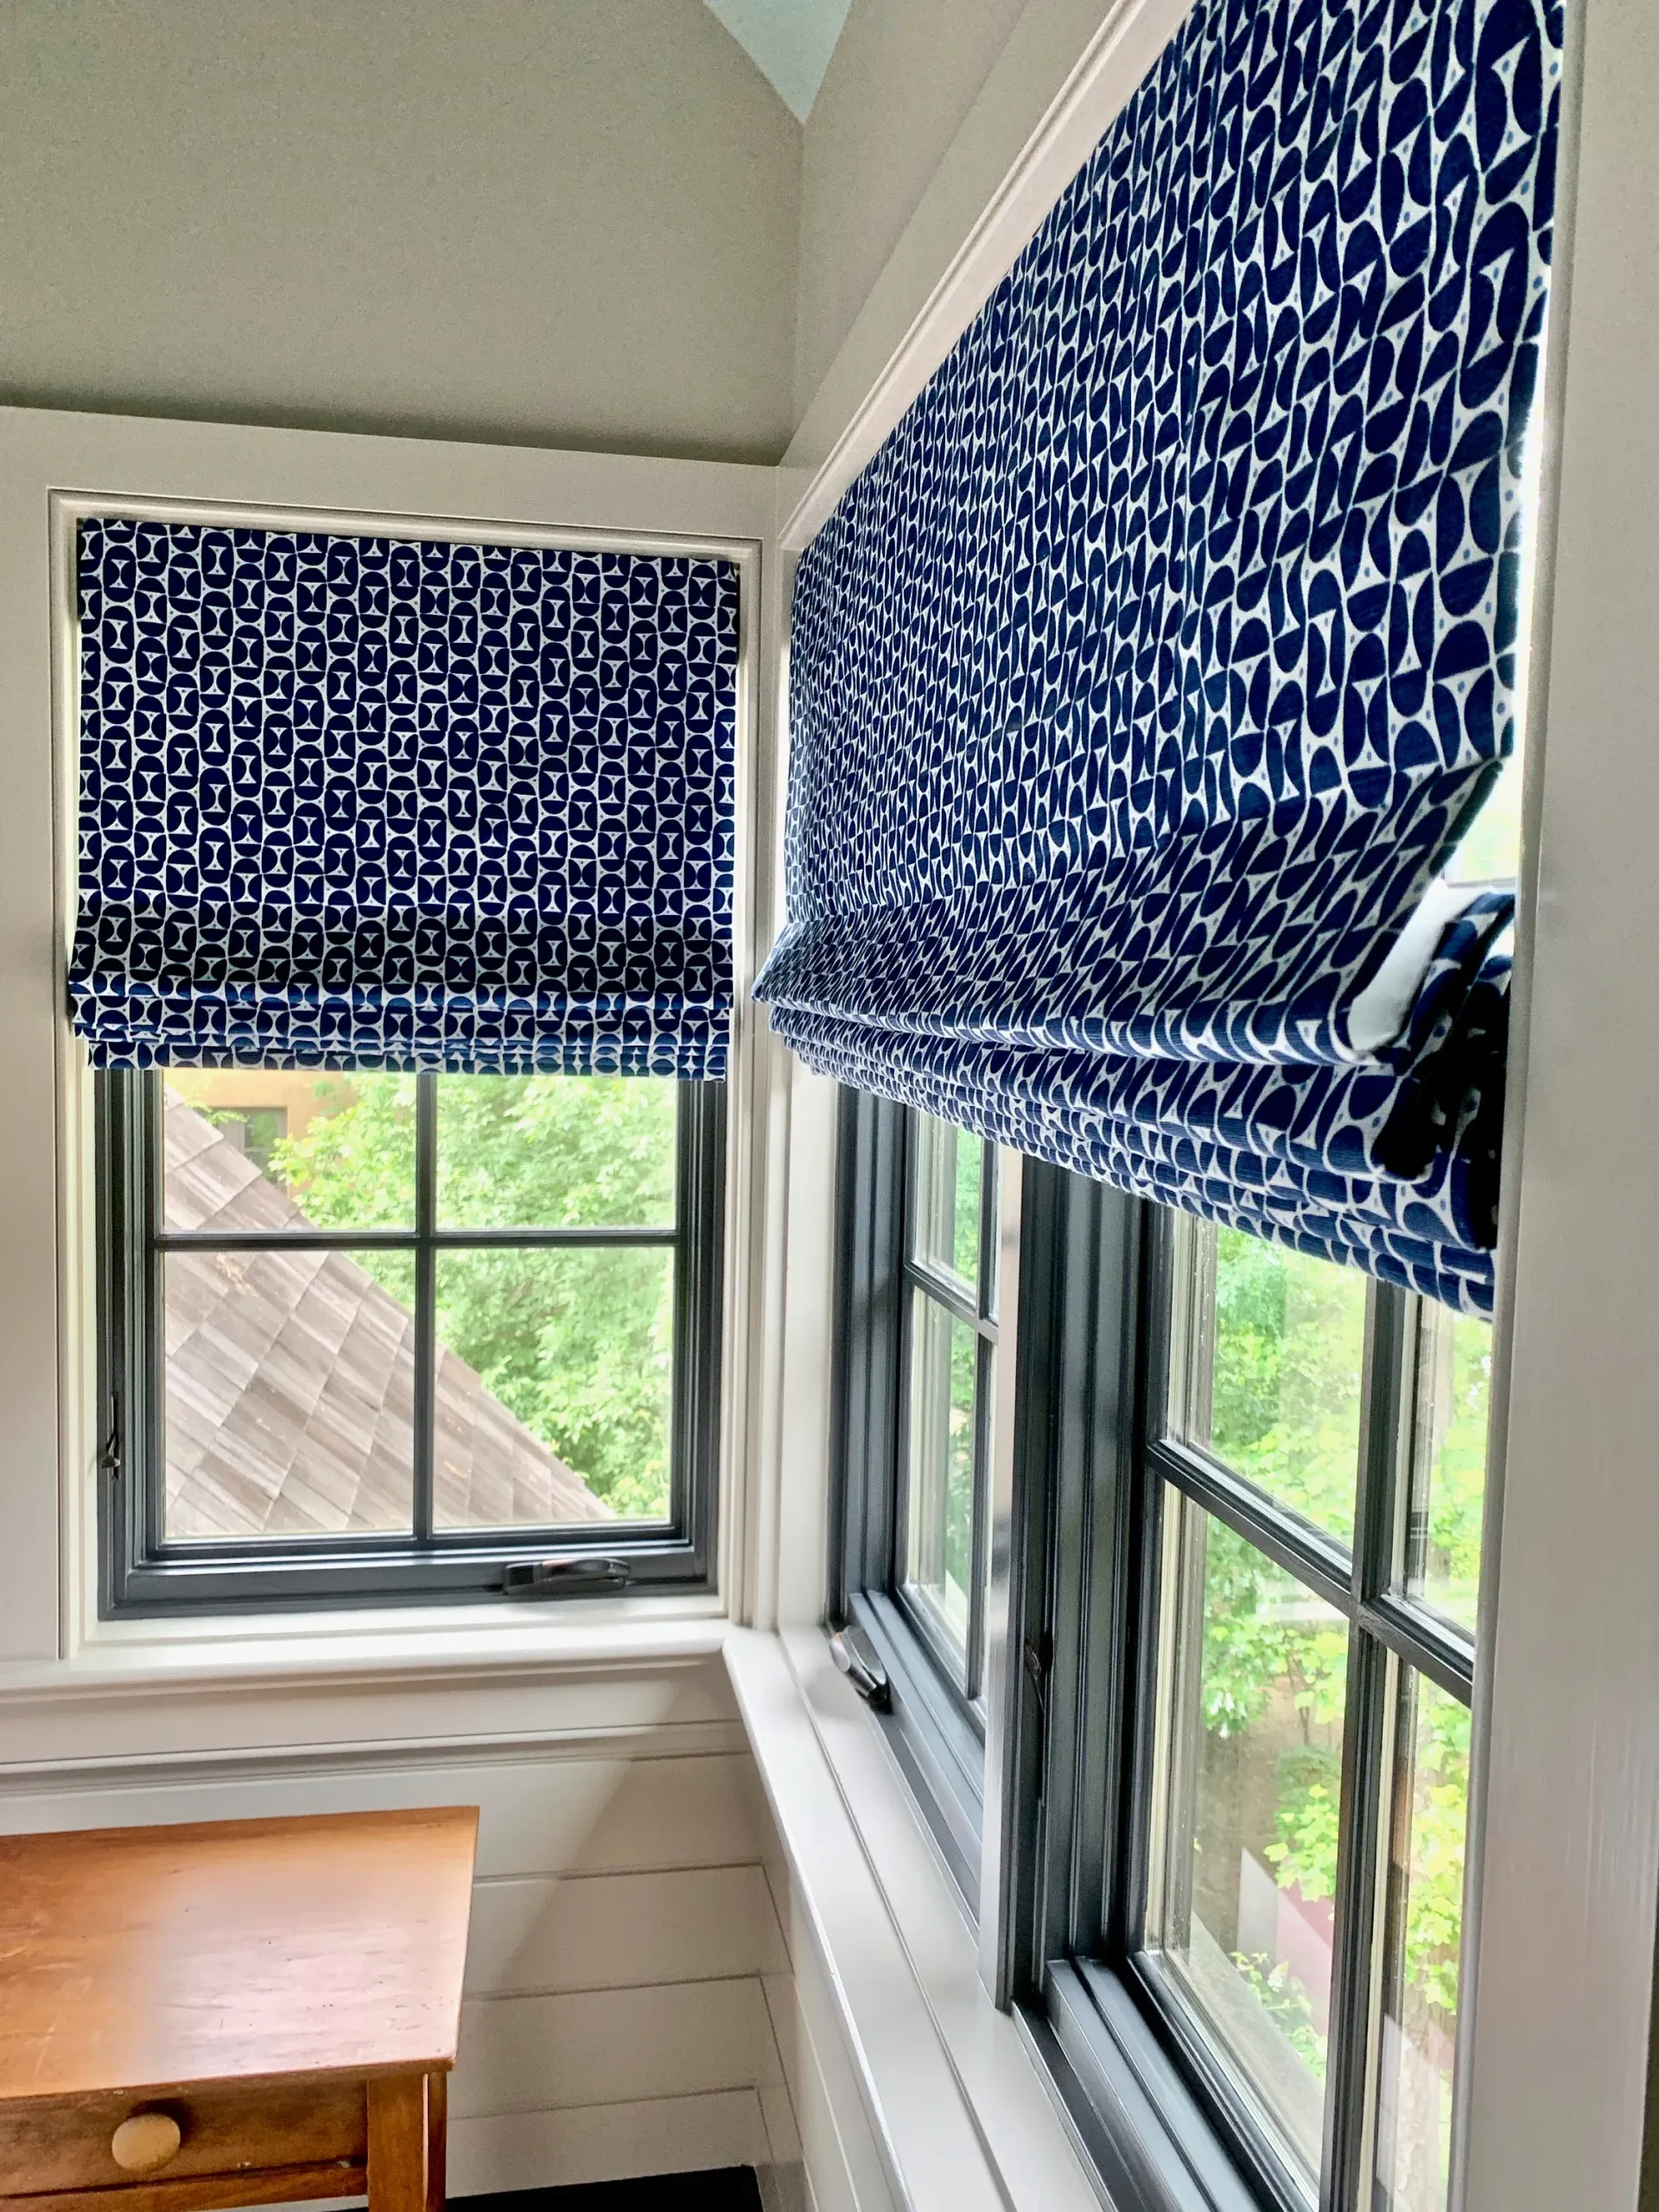
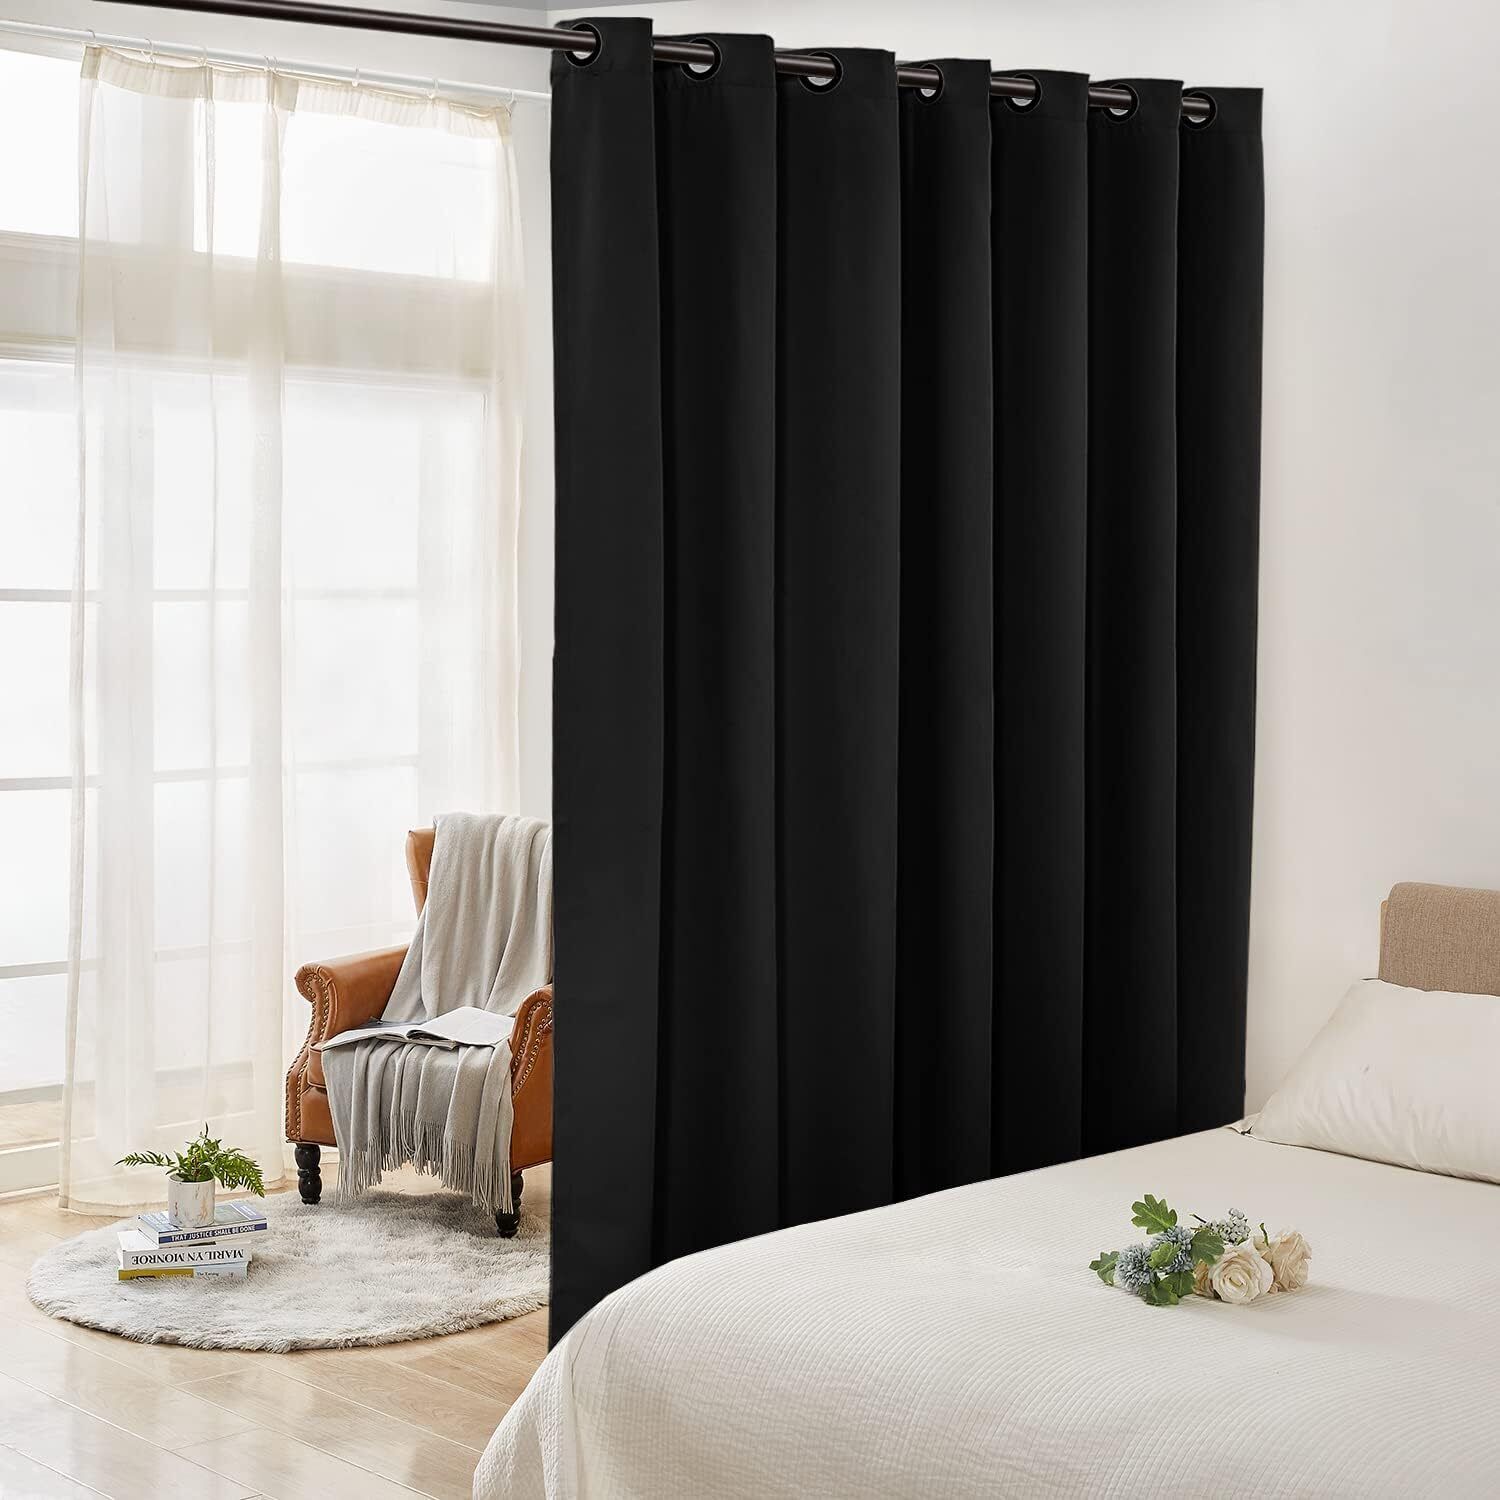
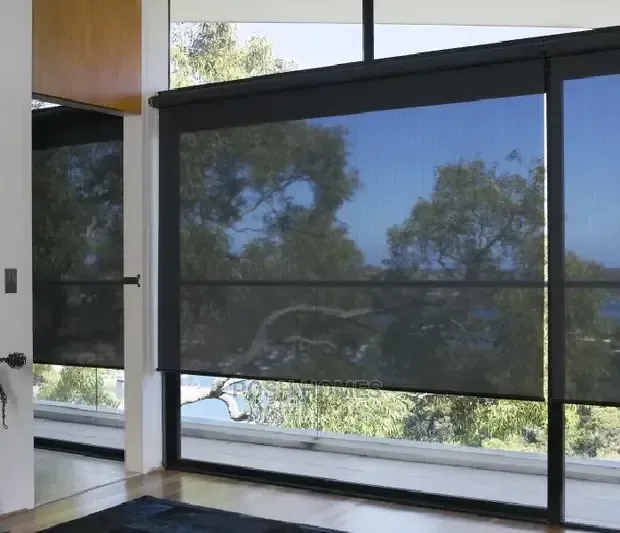
Cordless Roman shades offer endless design possibilities, and can even be adapted for larger windows or Roman shades for sliding doors. Here are some ideas to personalize your DIY shades:
- Add decorative trim – Pom-poms, tassels, or ribbon for a unique touch.
- Choose seasonal fabrics – Swap fabrics based on the season for a fresh look.
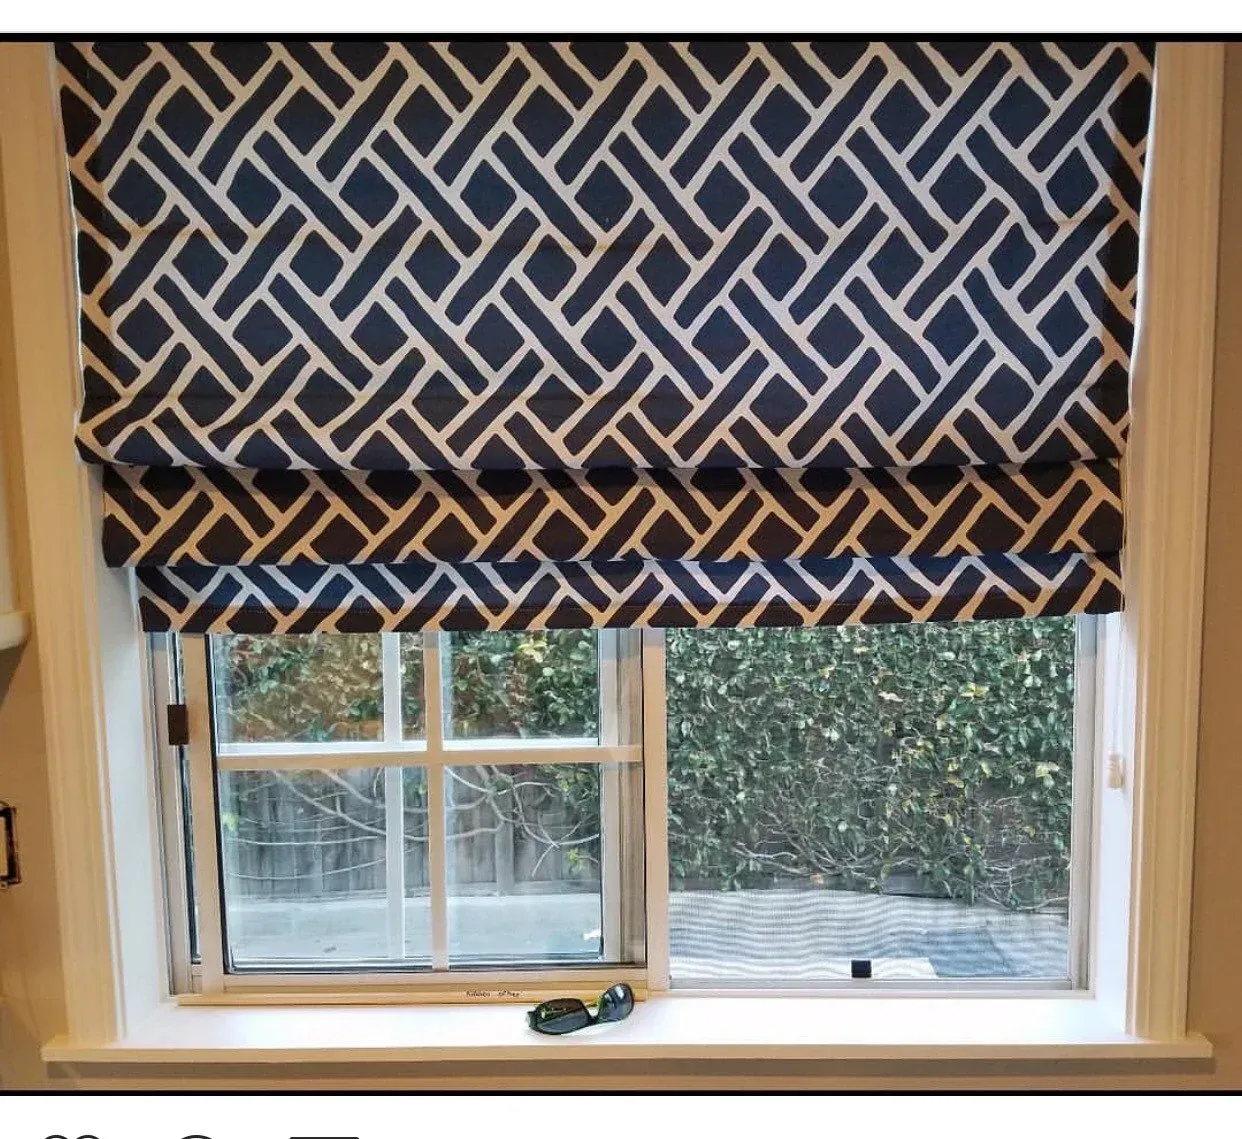
- Experiment with patterns – Stripes, florals, or geometric prints to match your decor.
How to Modify Store-Bought Roman Shades into Cordless
If you already own Roman shades with cords, you can easily convert them into cordless shades:
- Remove the cord mechanism carefully.
- Attach a tension rod or spring roller system in place of the cord.
- Re-secure the fabric and test the functionality.
This method saves time and repurposes existing shades.
Maintenance and Troubleshooting Guide
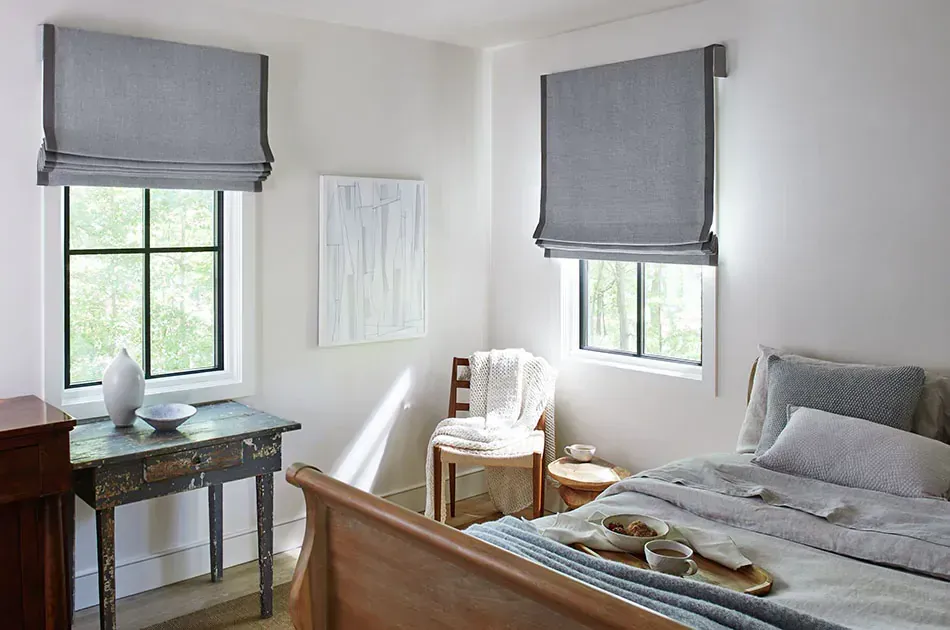
How to Clean Fabric Roman Shades
- Regular Dusting: Use a vacuum brush attachment or lint roller.
- Spot Cleaning: Dab stains with mild soap and water.
- Machine Washing: Only for washable fabrics—remove any wooden parts first.
Common Problems and Fixes
- Uneven Folds? Adjust the dowels or pleats for symmetry.
- Stiff Mechanism? Lubricate or adjust the spring tension.
- Sagging Shade? Reinforce with additional dowels or a stronger backing fabric.
Conclusion: Why DIY Cordless Roman Shades are Worth It
Creating your own cordless Roman shades allows you to achieve a stylish, functional window treatment at a lower cost while maintaining full control over design. Whether you're using a tension rod system or a spring-loaded mechanism, DIY shades provide an elegant, cordless alternative to traditional window treatments.


